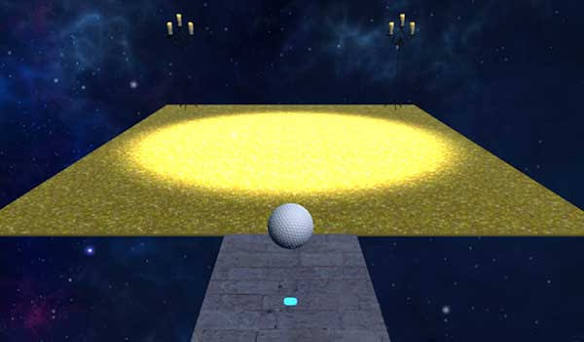
Most players think of the two checkpoint flags as safety nets. Strong players treat them as tools. The flag system quietly changes what "optimal play" means in each third of the course — here's how to exploit it.
The course has three risk zones
Zone one (start to first flag) is the most expensive place to fall: you go all the way back and your timer keeps counting. Play this stretch conservatively — single jumps, centre of platforms, no risky stars.
Zone two (between flags) is your experimentation lab. A fall costs maybe four seconds. This is where you should be trying tighter lines and the trickier star pickups, because failure is cheap.
Zone three (after the second flag) is short and ends at the finish. Falls here are cheap in distance but brutal on a good run's time — a strange mix that rewards controlled aggression: fast, but no experiments you haven't already practiced in zone two.
Deliberate practice with flags
Struggling with one specific jump? Reach the flag before it, then intentionally attempt the hard section again and again. Each failure is a free retry from a nearby respawn. Five minutes of this beats fifty full runs of hoping it goes better this time.
The reset decision
Here's a judgement call every timed run faces: you fell twice in zone two and your pace is ruined. Do you finish the run anyway, or press R and restart? The rule of thumb: finish it if you're still learning the course (course knowledge compounds), restart if you're hunting a personal best (a doomed run teaches nothing new).